Quickly Booked App Support
If you’ve already purchased the domain name for your business and wish to host your Quickly Booked App booking page on that domain, you can easily change the URL from containing ‘wlbookings.com" to your own domain name.
Custom domain functionality for Quickly Booked App is considered a premium feature, and it will be counted towards your total number of Custom Features & Integrations.
Enabling the Custom Domain feature
As with all custom features, you’ll need to navigate to the Features & Integrations section, find the Custom Domain feature, and click ‘Enable‘ to begin using it.
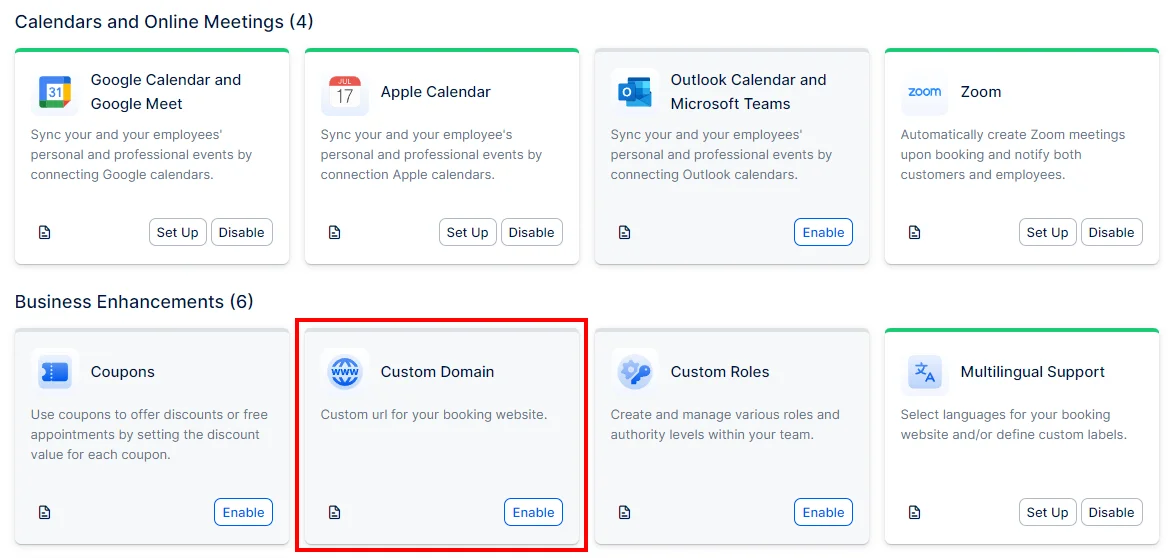
After enabling the feature, the card will refresh, and you’ll see a ‘Set Up‘ button. If you ever need to disable the custom domain, the ‘Enable’ button will change to ‘Disable‘.
From there you can follow the instructions but if you need support to setup your custom domain, get in touch using the chatbot on our website or email us at info@automationslab.co
CNAME records use a domain prefix, such as ‘book’ or ‘shop’, to connect your domain to a different domain name. This means that when someone visits ‘book.yourdomain.com’, it will direct them to the website specified by the CNAME record, in this case, your Quickly Booked App booking page.
To add a CNAME record, it needs to point to your booking website (shown as ‘your account.Quickly Booked App.com’ in the screenshot above). Quickly Booked App will automatically generate the URL of your booking website, so you only need to copy and paste it to your hosting provider’s control panel.
A records, or address records, are the most fundamental type of DNS record and are used to indicate the IP address of a domain.
If you need to add a domain prefix that connects to an IP address, create an A record pointing to 49.12.119.46, as shown in the screenshot above.
You can take a look at GoDaddy’s documentation about adding a custom domain:
- Adding a CNAME record
- Adding an A record
Once you configure either the CNAME or an A record, go back to Quickly Booked Apps Custom Domain settings page, paste the custom domain in its designated field, and click on ‘Add Domain‘.
After the ‘Success’ message is shown, you can go to your Quickly Booked App’s booking page (by clicking on the ‘Booking Website’ button in the top left corner) and you will see that it has a new URL that you just set up.
Please note:
- If you are using Cloudflare, the proxy should be disabled. The A DNS and CNAME records should be set to ‘No Proxy‘.
- Do not add records for ‘www‘ as they are not needed for Quickly Booked App’s custom domain setup.